Can You Apply Peel and Stick Backsplash on Drywall?
Written by: chenqiyu
|
|
Time to read 9 min
Introduction:
Many people are unsure about installing a peel and stick backsplash on drywall. People are worried because they have heard stories about tiles coming off and mold growing in wet areas. Not to mention that a regular tile remake can cost more than $500 and needs grout, mortar, and heavy-duty tools. The good news is that you can install a peel and stick backsplash on drywall if you follow these three important steps:
The drywall is intact and flat
The area avoids constant water exposure (no shower walls!)
Step-by-Step Guide to Installing Peel and Stick Backsplash
This guide shows you how to easily and step-by-step install peel and stick backsplash or tile on walls. It goes over tools and supplies, getting the base ready, putting it out and cutting it, how to put it together, finishing, curing, upkeep, and fixing problems. Follow each step exactly for a skilled effect that lasts.
Things and Tools
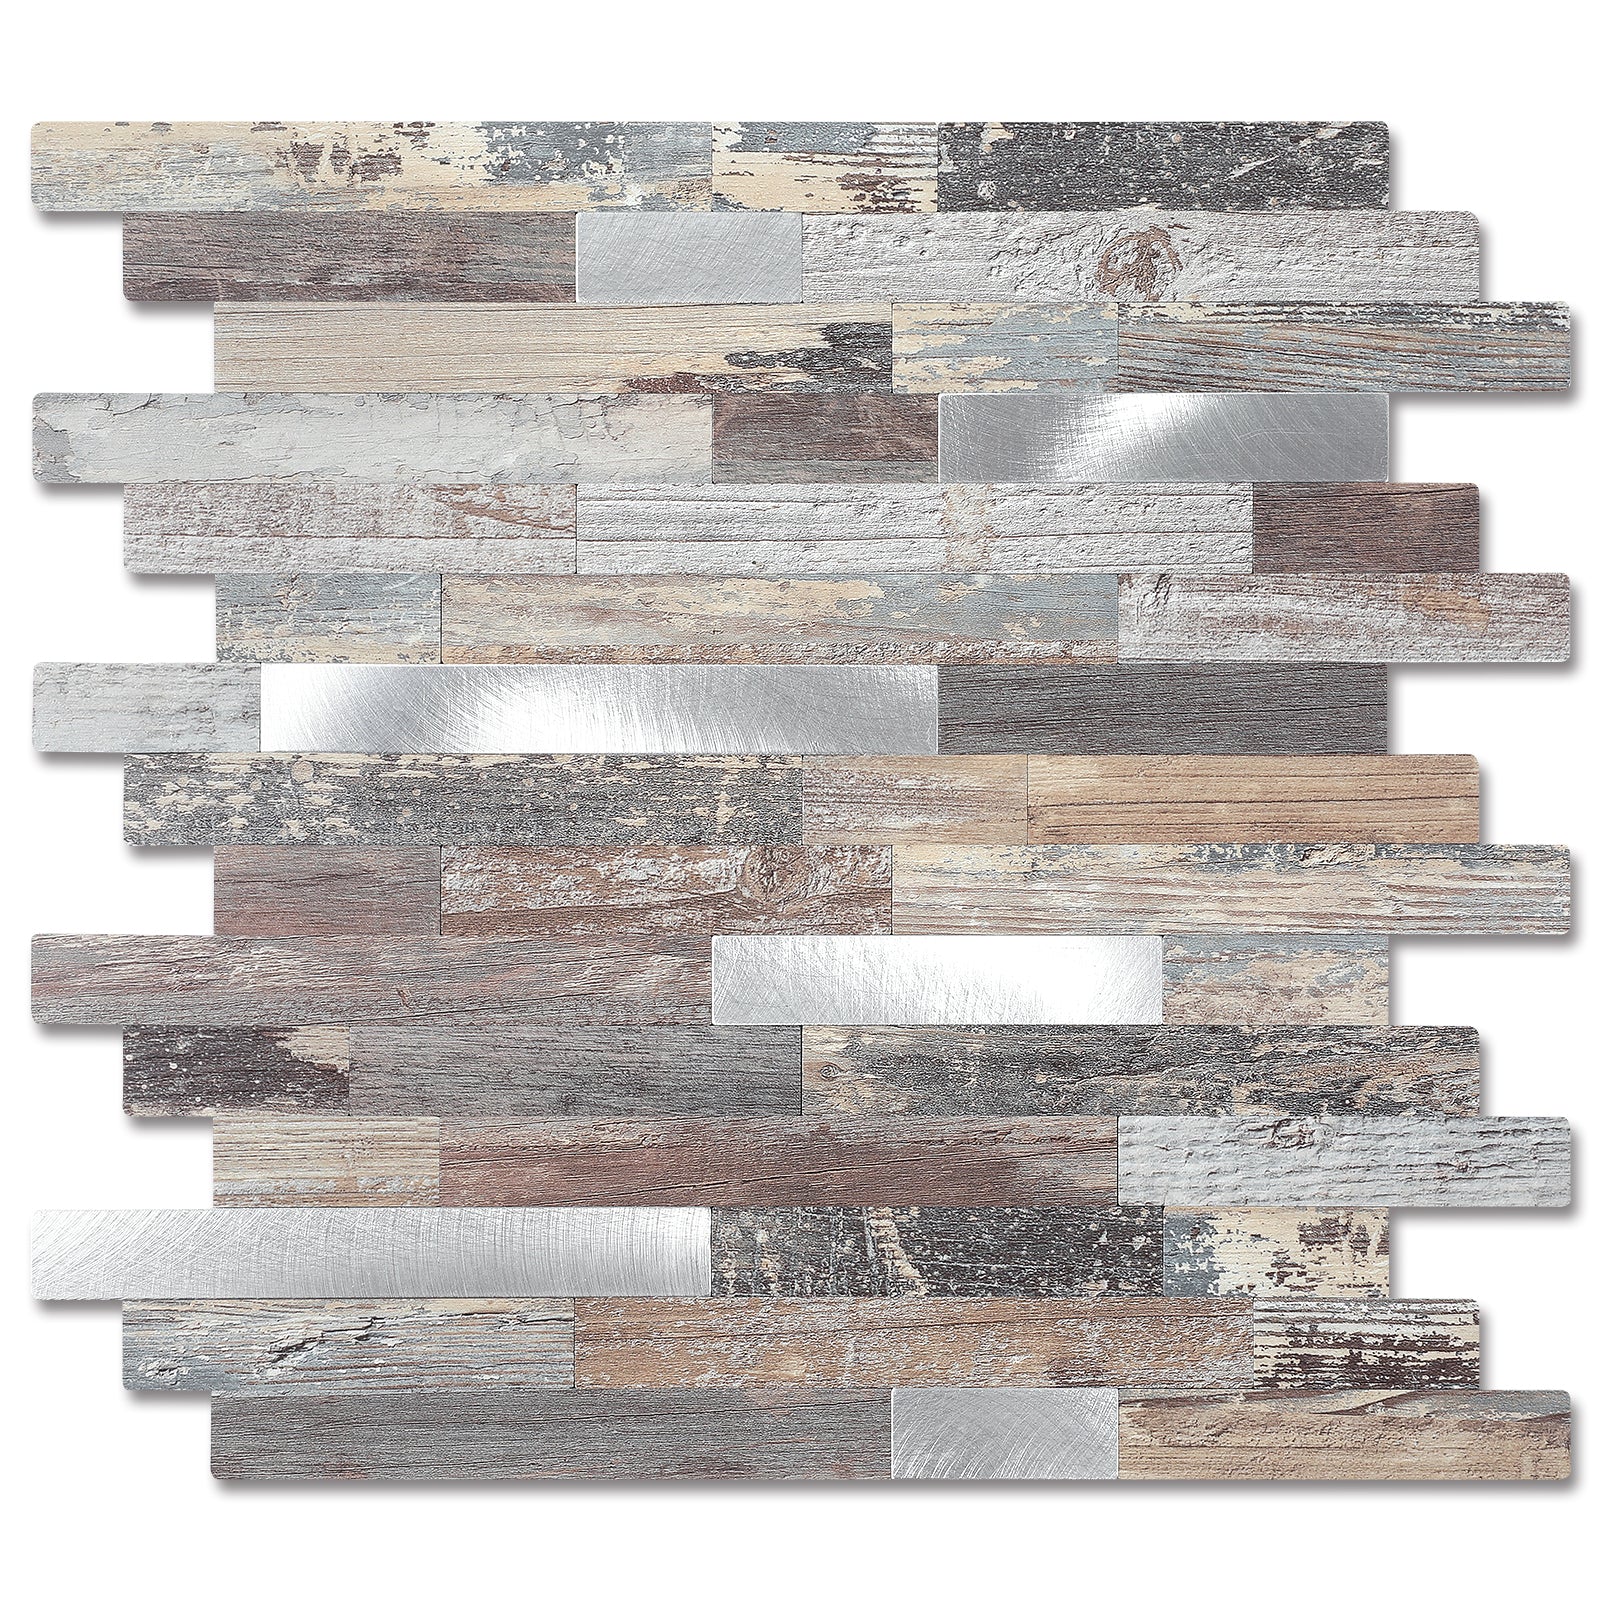
Backsplash tiles or panels that you can just peel and stick
An everyday knife with sharp blades and strong scissors.
A straightedge or ruler, a measuring tape, and a pencil.
A laser or bubble level. 100–150 grit sandpaper and a grinding block.
Joint cement or spackle and sanding tools for fixing things.
A cleaner for the kitchen, isopropyl alcohol, and cotton towels for cleaning.
A 3 to 4 inch wide roller or flat smoothing tool with a rubber or vinyl base. Clear silicone caulk and a caulk gun for wet edges.
Masking tape and drop cloths to protect the floor.
Heavy-duty building glue (for tough edges) and water-based paint are extras that you can choose to use.
Gloves, goggles, and a dust mask for safety.
Evaluate the Substrate
1. Make sure the drywall is still strong. There shouldn't be any cracks, holes, or places where the drywall is soft or falling apart. Any broken parts should be replaced. 2. Find out if the walls will be wet. Don't use peel and stick tile on walls that are always wet, like those around the tub or shower. In these places, you should use cement board and a waterproof covering. 3. Look at the surface's roughness. Too much grain on the surface will make it hard to stick. When it comes to smoothness, a difference of less than 3 mm over 2 meters is ideal.
1. Prepare the Wall
Plug covers, light switch plates, and trim should all be taken off. If you are working near electricity sources, turn off the power.
Clean everything well. To get rid of oils and grease in the kitchen, use a cleaner (like TSP or something similar). To get rid of dust and residue in other places, wipe them down with rubbing alcohol. Let the wall dry all the way through.
Fix flaws: use joint cement or spackle to fill in holes, dents, or cracks. Once it's dry, sand it to get rid of the dust.
Sand shiny paint: If the drywall is covered with a glossy or semi-gloss finish, sand it lightly to make it more adherent. Wet a microfiber cloth and wipe it down. Then let it dry.
If you want to use a primer, put a thin layer of water-based primer on areas that have been fixed or freshly painted to make the surface stable and the bond stronger. Follow the manufacturer's guidelines for how long to let the paint dry.
Ambient conditions: place the tiles in a temperature range suggested by the tile maker, which is usually between 50°F and 85°F (10°C and 30°C). If the humidity level is higher than 60%, allow more time to dry before fixing.
2. Planning and setting up
Find the starting place by measuring the whole wall. This is usually in the middle above the stove or in line with a set architectural element to make the visuals look good.
Draw a straight line to use as the first row's basis. Make a light pencil mark and use a laser level or bubble level.
Dry-fit tiles or panels: Put them out in a few rows without pulling off the backing to see if they are lined up correctly, if the pattern repeats, and if you need to cut pieces for the sides. Step back if the cuts on both ends will be too small (less than 1 inch).
3. Getting it cut and fitted
Use a straightedge and a sharp utility knife to make straight cuts. Score the tile several times and then snap or trim the edge neatly.
Making a paper or cardboard copy of the area (like an outlet or pipe) and then transferring the design to the tile will help you cut it precisely.
For exit holes, cut an "X" in the middle of the tile over the hole, fold the flaps over the hole, and thread them through. Then, unfold the tile and press it into place. Finish cutting so that it fits well.
4. Installation Technique
Do things in small chunks. It's easier to control the position if you only remove a small amount of the backing at a time instead of the whole thing.
Place the tile along the baseline, making sure the sides are perfectly lined up, and press the glue area into place. Slowly peel off the last bit of paper while smoothing the tile down.
Press down hard on each tile from the middle outward with a brush or smoothing tool to get rid of any air spaces and make sure there is full contact. Pay close attention to the sides and gaps.
If the tiles are meant to look like grout, make sure the seams are always the same distance apart. Only use spacers if the product instructions say to.
If you use subway-style tiles or movable panels, make the cracks look more natural by fraying them. For connecting sides, follow the manufacturer's instructions.
5. Finishing and sealing the edges
Caulk right away any border joints that could get wet or steamy, like behind sinks or next to stoves. For a waterproof cover, use clear or matched silicone caulk.
Put the switch plates and trims back in place after the tiles are set. Get rid of any glue that's still on the hardware.
If the ends of the tiles are always touching, you might want to put a bead of heavy-duty construction adhesive behind them before pressing them together. Once the glue is dry, you can caulk around the edges.
6. The Healing and Acceptance
Let the glue dry for the amount of time that the manufacturer says it should, usually 24 hours before light use and 48 hours before cleaning with liquids. Higher dampness will make the fix time longer.
Acceptance test: Splash water slightly along the sealed sides and look for seepage behind the tiles. If there is none, the installation is good.
7. Recurring Costs
To clean every day, use a soft cloth and pH-neutral cleaners. Do not use rough pads, strong acids, or steam cleaners.
Fix small lifts: use a hair dryer to soften the adhesive around the tile edge, then put a suitable construction glue on the back of the tile, press down hard, and put something heavy on top of it for 24 hours.
To stop mold from growing, keep the kitchen well-ventilated and dry up any water that splashes right away. If mold grows, clean it with a bleach solution that is ten times as strong as water. Let it dry completely, then fix the joints again.
RECOMMENDED PRODUCTS
8. Getting rid of problems
If there are air bubbles, smooth them out right away with a roller. If the bubbles don't go away, take off the tile, clean the base, and put it back on.
If you're peeling in corners, make sure the edges are sealed with silicone. If you keep lifting, check the underlying base for any leftover grease or texture problems.
Adhesive failure across the whole panel: take off the panel, check the wall for dirt or moisture, clean, sand, and prime the base again, and then put the panel back on.
9. Alternatives When Drywall Is Unsuitable
In wet places like bathrooms and tub surrounds, replace sheetrock with cement backer board and a waterproof membrane.
Cover rough areas with a smooth ¼-inch underlay, like new drywall or plywood. Then, follow the normal steps for getting ready and installing the floor.
Quick Project Schedule and Cost Estimates
Preparation of the substrate (cleaning, fixing, and drying): 4 to 12 hours.
Layout and cutting: 1 to 2 hours (small kitchen); more time for plans with lots of parts.
Setup takes two to six hours, based on the size of the area and the number of obstacles.
Needs 24 to 48 hours to fully cure before heavy use.
Last Checklist Before You Begin
The wall is dry, flat, and has a sound structure.
All dirt and grease must be removed, and the surface must be fixed and sanded smooth.
The baseline and layout must be planned and tested.
The right tools and PPE must be on hand.
Silicone and cleanup materials must be ready.
Note:
The information in this guide is only meant to be used for general informational purposes. Even though every effort was made to make sure the directions were correct and reliable, the results may be different based on the material, wall surface, and installation method you use. Always follow the instructions that came with the peel and stick wall product you choose. Any harm, damage, or bad results that happen during or after installation are not the responsibility of Yipscazo Consulting or the author. If you're not sure about any step, talk to a professional technician before you do it.
Conclusion
When structural stability, moisture concerns, and planning are the most important things, it is useful and quick to put peel and stick backsplash directly on drywall. It's appealing because it's easy to do, doesn't cost much, and looks good—as long as the surface is clean, flat, and dry. By following the steps given, you can get good adhesion and long-lasting effects without the mess and cost of standard tile.
Frequently Asked Questions
1. Can peel and stick backsplash tiles be installed over existing tiles?
Yes, they can be put down over tiles that are already there as long as the surface is smooth and doesn't have any cracks, textures, or bumps. This level of smoothness is needed for the peel and stick backsplash designs to stick better and last longer.
2. How long do wall tiles that you peel and stick last?
They will last at least 2 to 5 years if they are installed correctly, don't get wet all the time, and are well taken care of.
3. Can I put peel and stick tile down in wet places?
Peel and stick tiles can be used in places that get a lot of wetness, like surfaces, but they can't be used in wet areas.
4. What's the best base for tile that you peel and stick?
Peel and stick tile wall can be put on any smooth, level surface that doesn't have pores. You can put it down on painted walls, wood, glass, metal, or painted tiles, or any other smooth surface.
5. How do I make a wall level for peel and stick tiles?
You can get rid of bumps or odd textures with sandpaper, fill in gaps with glue, or use primer on painted drywall to make the surface level before putting in tiles.
6. What is the best thing to put under peel and stick tiles?
Painting plywood that is flat and free of grease or dirt is the best covering. On top of tiles or surfaces that don't absorb water, like metal or glass, they can also be put down. If you want a flooring grade board that is ¼” thick and has a smooth, flat surface, you can get that.
7. Do you need more glue for the peel and stick backsplash?
No, they are tiles that stick to themselves. Their sticky back makes the job easy for people who like to do their own. Adding another adhesive, such as double-sided tape, silicone adhesive, or spray adhesive, helps keep the sides from moving over time and also makes the item last longer.