


Make Your RV Feel Like Home: Warm & Welcoming Backsplash Tile Ideas
|
|
Time to read 7 min
|
|
Time to read 7 min
Living in an RV is all about breaking the usual paths and enjoying your free will. You wake up to new views every day, chase the sunset, without losing the comfort of your home. However, there is a catch! Most of the time, the RV interiors don't feel like home, as you usually get them with boring colors and plain finishes.
Nevertheless, you can always give a personal touch. One of the easiest and quickest ways to do that is upgrading your backsplash, which can turn a dull space into a more cozy corner. So, keep on reading, and in the forthcoming content, we will explore some of the most amazing and beautiful backsplash tile ideas to help you make your RV feel like home within a short time.
Table of Content
Backsplash tiles help to make your RV perfect in many ways, including:
A backsplash is one of the major and most viewed elements of any RV. Hence, when you change it, the whole look of your RV gets automatically customized, making the kitchen and bathroom look as good as new.
Weight is an essential element to look for in your RV. While installing tiles in the whole RV looks good, it is practically difficult and also increases the weight. When your RV has more weight, the engine consumes more fuel to operate, which can put a strain on your budget. However, by replacing only the backsplash, you can enjoy the same visual appeal. Without compromising on comfort.
One of the best things about RV backsplashes is that they are easy to install. That means you do not need any professional help. Just grab the backsplash of your choice, peel the back, stick it to your desired place, and voila, you are all done.
Backsplashes not only enhance the look of your vehicle, but also enhance its durability. They form a layer of protection, making sure that water, grease, and stains do not decrease the durability of your RV.
The most amazing part about an RV backsplash is that you can use it to customize the whole vibe of your RV. Here is how:
If you are someone who enjoys nature more, choose textures that mimic the natural elements. For instance, you can use a material that looks like wood or stone, or go with a translucent effect to create the illusion of water.
For creating a cozy corner, consider going with the warmer shades. For instance, you can choose from cream, beige, soft brown, honey, or terracotta. At the same time, avoid cold greys and harsh vibes as they can kill the vibe.
Tiles that reflect light are great for smaller RVs. They add a gentle shine, glossy finishes, and pearl-like surfaces, which create an illusion of a wider space. Thus, making your RV feel brighter but cozy at the same time.
Your RV should reflect your personal traits. Hence, do not shy away from making bold choices. If you are a fun-loving person, go with bold and bright colors. On the contrary, you can also choose soft blue and sandy tones, if you like to transform your RV into a beautiful beach-side hotel.
A warm space is not just about colors. It is equally about the textures as well. You can mix different kinds of materials to create unique textures. For example, pair your backsplash tiles with wooden shelves or soft fabrics to enhance aesthetics.
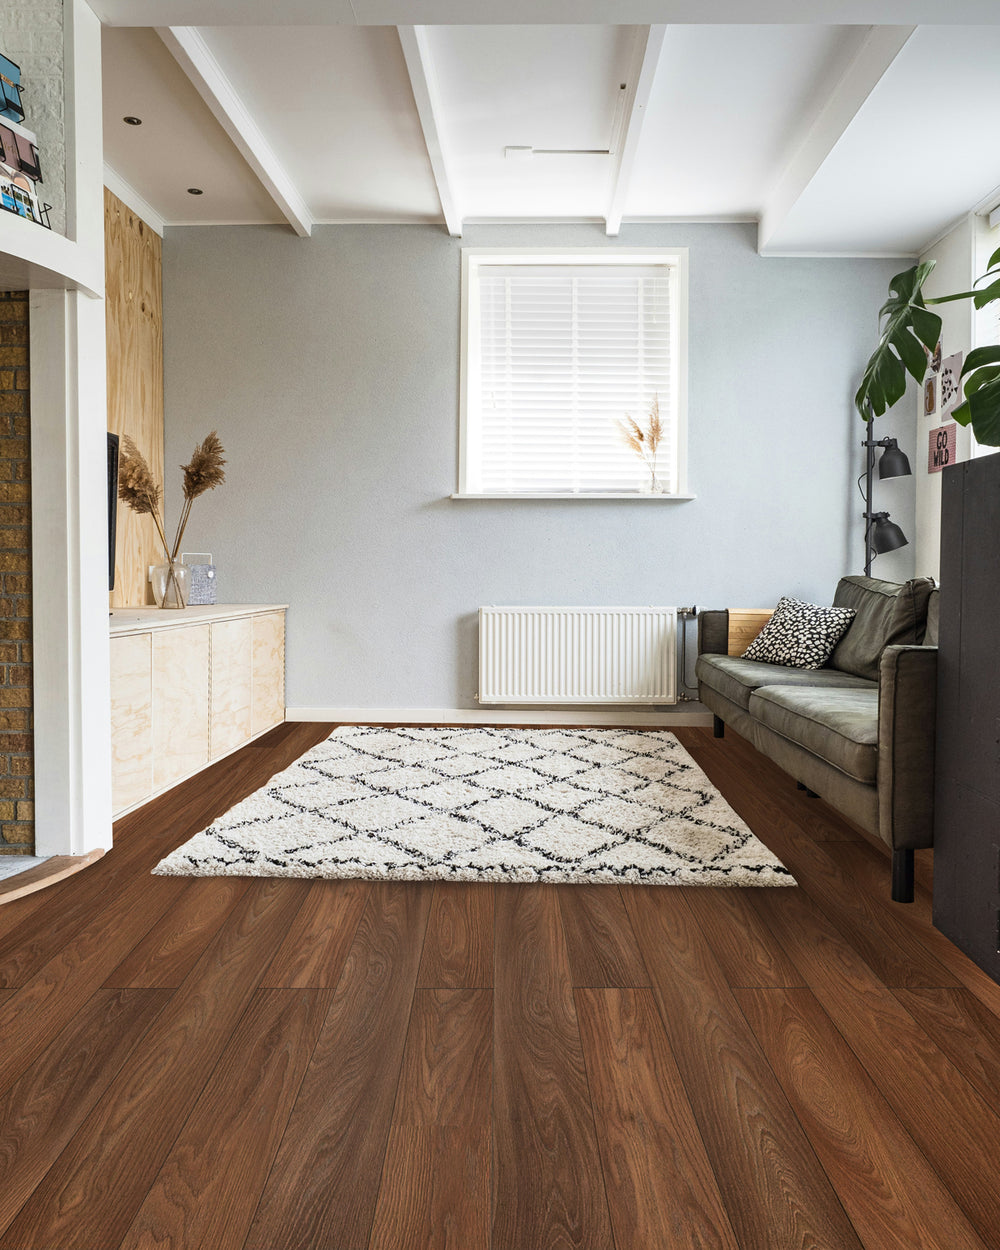
Wood is great for bringing an instant warmth, but placing it in an RV can be risky. You can create the same visuals with wooden-look tiles. These are made up of vinyl and realistic wood grains and instantly uplift the atmosphere of any RV.
Best for:
1. Rustic or farmhouse-style RVs
2. Nature lovers
White or ivory tiles are ideal for giving a dreamy look to your RV. You can, however, combine it with darker grouts to create contrast. Made up of peel and stick vinyl material or PVC, these are extremely easy to install and replace.
Best for:
1. Clean but cozy kitchens
2. Small spaces that need brightness
Made out of PVC or faux stone panels, these tiles are great for people who desire to make their home feel calm and naturally connected. With an earthy tone, these tiles give a look of natural stones and Mediterranean spaces.
Best for:
1. Warm interior
2. Neutral color lovers
Material: Real or faux shell. The tiles are a wonderful pick for anyone who loves light reflections. With their beautiful color shifts, these tiles give a very soft and magical appearance.
Best for:
1. Behind a sink or coffee station
2. For anyone who adores magical soft vibes
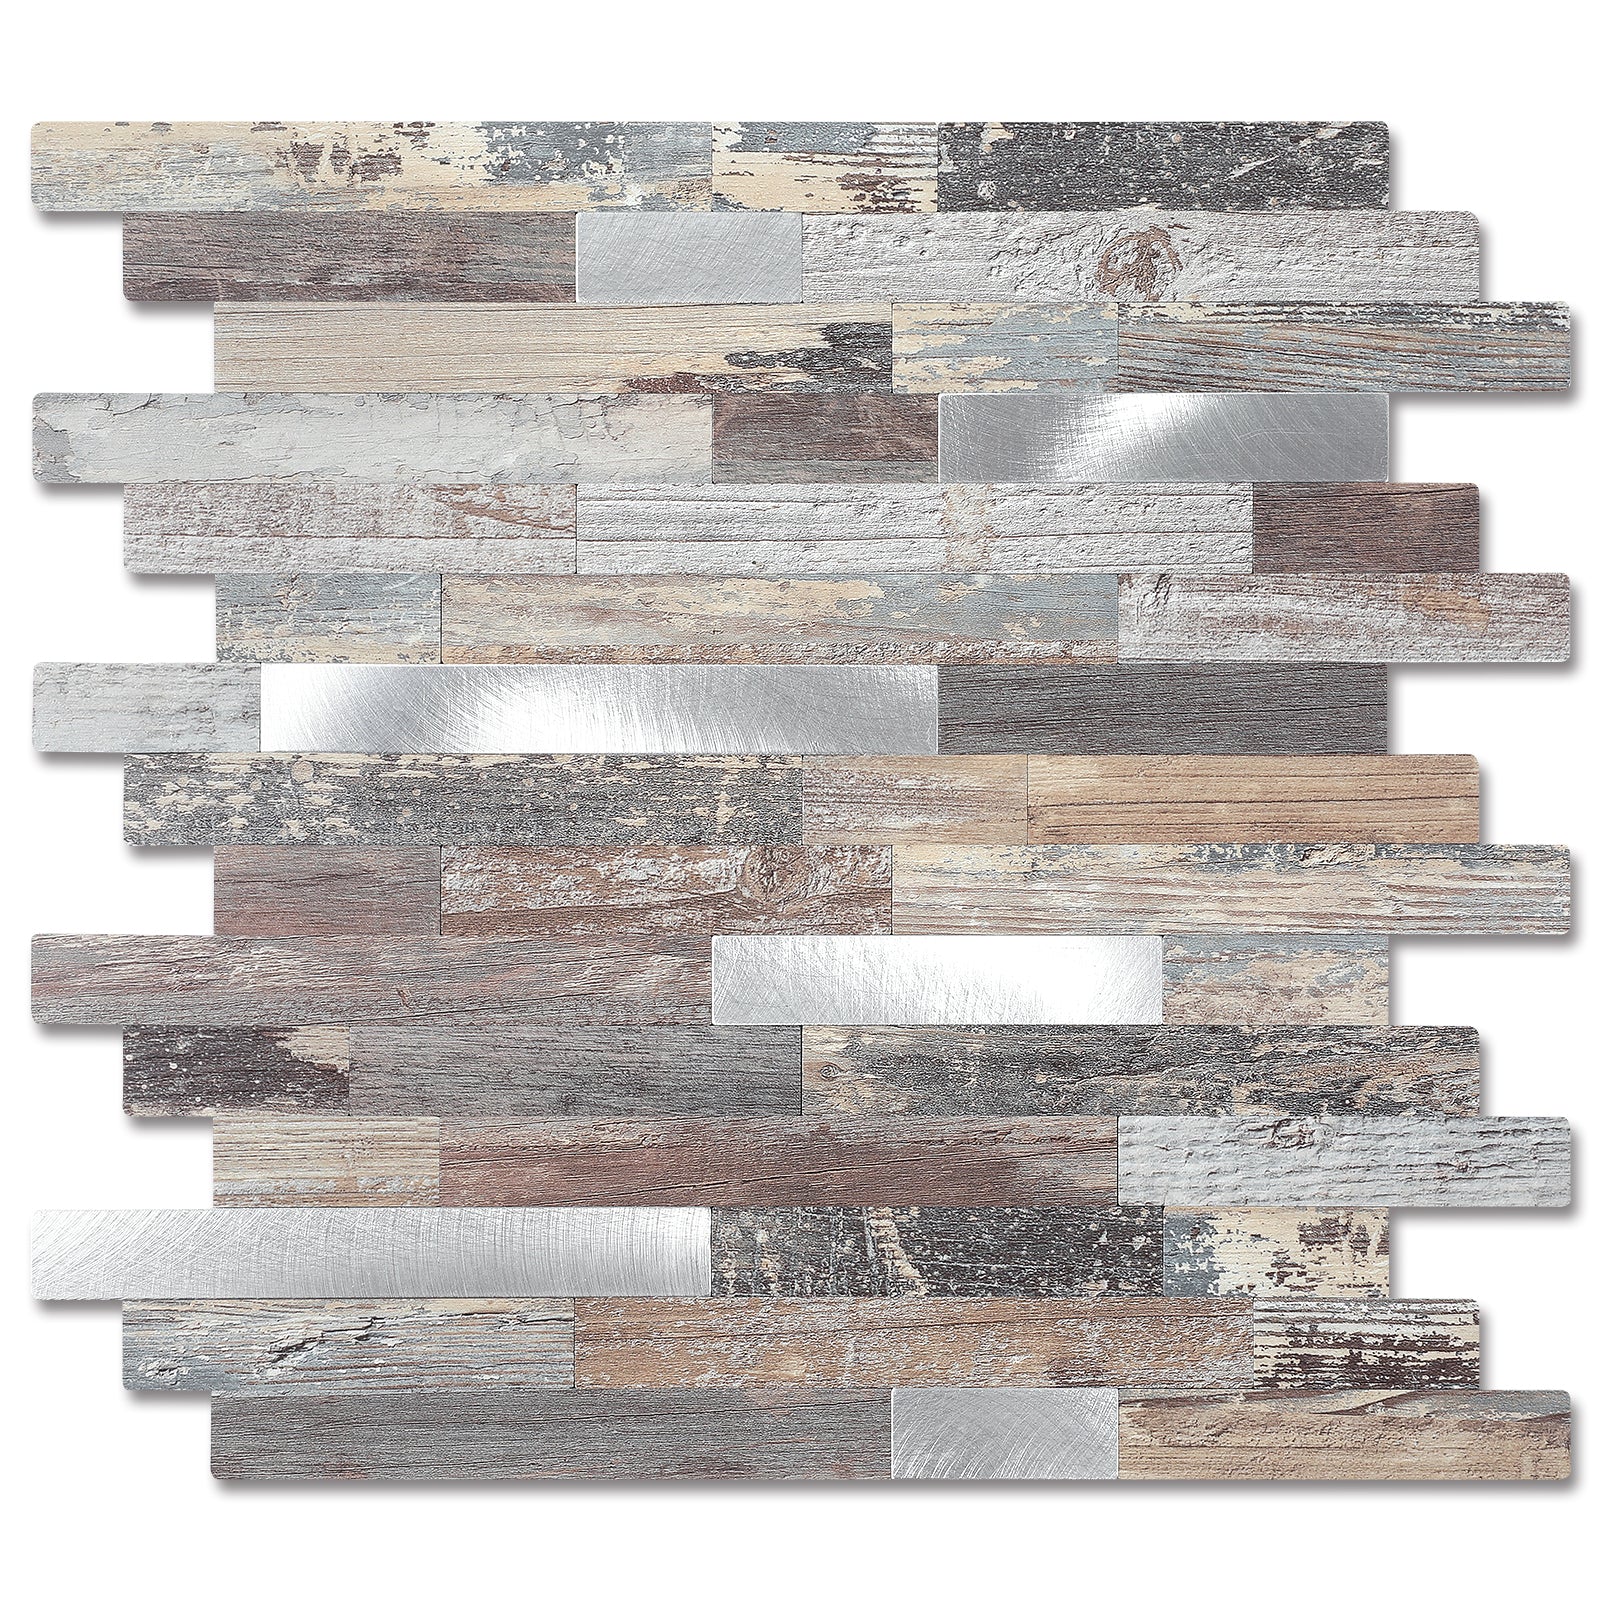
Such tiles are made using metallic finish tiles. They pair best with wooden surroundings and warm lighting, as they further uplift the outlook and turn any spot into a welcoming and comforting environment.
Best for:
1. Modern rustic design
2. Small features sections
Selecting a material out of so many options is not an easy task. One must select the right material mindfully in an RV.
Vinyl / PVC Tiles
Best overall choice for RVs
Thin Metal Sheets
Best for behind stoves
Faux Stone Panels
Best for textured looks
Peel and Stick Mosaic Sheets
Best for decorative styles
Step 1: Choose Your Tile: One smart decision is to first get a sample. RV lighting can change how colors look.
Step 2: Clean the Walls: For a proper installation. Cleaning the wall prior to is very important. You can use a degreaser to remove the dirt and decrease the amount of dirt on the wall you are planning to install an RV. End it with a wipe of rubbing alcohol. Once all is done, make sure it dries nicely.
Step 3: Check Surface Smoothness: Textured walls can be hard to work with. If the walls you want to install the RV on are textured, then use thicker tiles as they are better suited for them.
Step 4: Plan Your Layout: Proper measuring is very crucial. RV spaces are not always straight. Therefore, mark lines to guide your placement, which will ensure clean and satisfactory results.
Step 5: Cut the Tiles: Use a sharp knife for straight cuts. You can also make paper templates for tricky shapes.
Step 6: Apply Tiles: First, go with the section that is the easiest to work with and gradually move to the harder ones. Measure vents carefully prior to applying the tiles. Consider flexible tile for curved walls.
Step 7: Handle RV Obstacles: Cut around the windows carefully. Measure vents before applying. Use flexible tiles for curved walls.
Step 8: Seal Edges (Optional): Use clear silicone near sinks for water protection.
Step 9: Add Warm Details: Add wood shelves, warm lights, or baskets.
Step 10: Enjoy the Result: That's all, now step back and take a look at your upgraded space.
Backsplashes can look way better and more beautiful when styled with the right elements. Here is how you can do it.
Yes, they can only if you pick good quality. Remember, a strong adhesive is the key.
Flexible tiles are suitable for curvy walls as they bend to adapt to the curves. It is great to first use paper templates.
Yes, modern options offer a very realistic look.
Yes, you can. Just peel them off, and that's all. Check the product label for accuracy.
RV backsplashes not only give a very good look, but it also produces positive vibes. It adds warmth, it adds comfort, it adds calm and it adds coziness. The best part is that you don't need a big budget or professional assistance. Choose a style you love, and give your RV the cozy upgrade it deserves this weekend.


