

How to Seal Your Floors with Vinyl Tile for Extended Floor Life
|
|
Time to read 6 min
|
|
Time to read 6 min
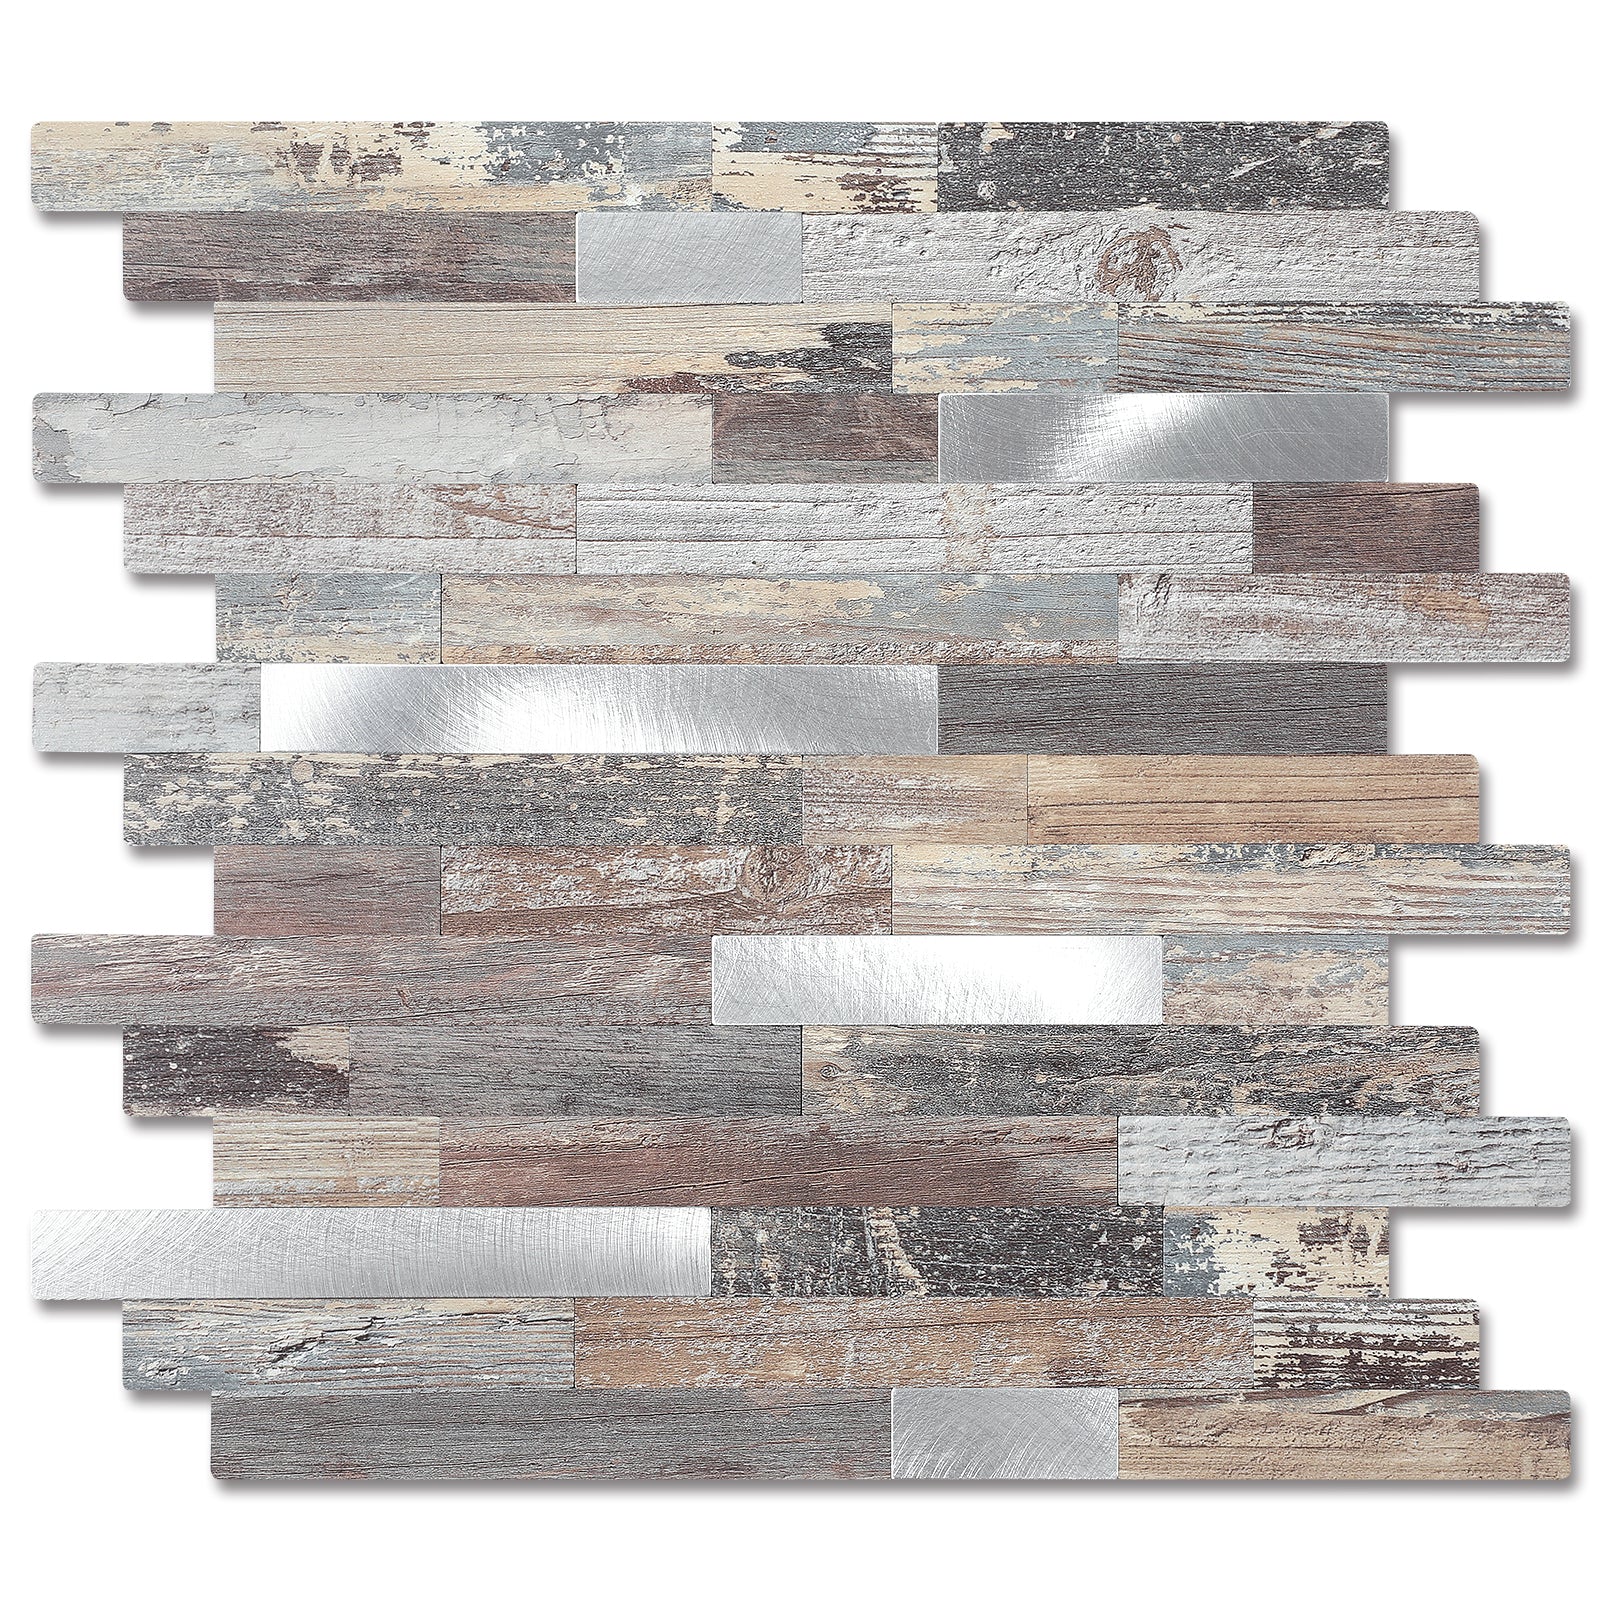
Due to vinyl tiles' low price, long lifespan, and low care requirements, it has become a popular option. Its adaptability to a wide variety of decor styles—from elegant oak to modern ceramic tile—makes it ideal for practically any room in the house. The longevity of vinyl flooring is greatly affected by the level of care given to it.
Therefore, when choosing the best flooring, what are your priorities? Is it affordability, beauty, and durability as a homeowner? Perhaps you'd want something that doesn't require much maintenance, is resistant to water and has an extended floor life. Then you should consider Vinyl tile among other floor options.
A floor's sealing is like armor for it. Particularly useful in heavily used areas like hallways or kitchens, it provides a protective layer that wards off dings, scratches, and everyday wear and tear. Water can't penetrate vinyl unless it's sealed, which stops water from seeping in through cracks and crevices. Stains caused by spills can also be effectively blocked by this.
Have you considered installing vinyl tile to update the look of your floors for an extended year? Perhaps you have already installed and are concerned about their longevity. Sealing your vinyl tile floors is a lifesaver. It makes the tiles last longer, protects them from water, and ensures that their luster will remain beautiful for a long time. However, to maximize your investment, let's go over all the details of a healthy floor sealing setup with vinyl tile:
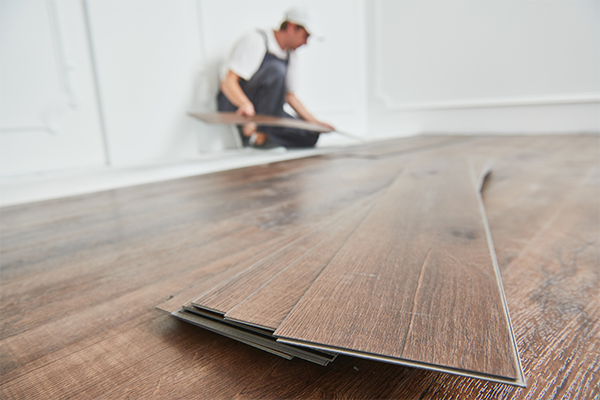
Get all of your materials and tools ready before you begin. What is required of you? A sweeper or hoover cleaner - A vinyl-specific cleaning solution, that wipes down a floor sealer tailored to vinyl flooring and painter's tape (if required). Also don't forget an applicator pad or roller for applying paint
Ensure the floor is free of dust and dirt by sweeping or vacuuming it. The next step is to use a cleaning solution and a mop to remove any dirt or stains from the floor. Before proceeding to the next stage, ensure the floor is parched.
After you've cleaned the vinyl tiles, look for signs of damage like cracks or chipping. Use a vinyl floor repair kit to fix any problems. This stops water from penetrating under the tiles and makes sure the sealing process goes smoothly
Choose a premium floor sealer made specifically for your vinyl flooring type. Both water-based and solvent-based alternatives are readily available. Think about how you like the finish (matte, satin, glossy), how long it takes to dry, and how easy it is to apply.
When the adhesive has set, which typically takes about a day or two, you can seal it. This last stage ensures that your floor will last longer by locking everything in place.
Either it is water-based for simple cleanup or translucent, like acrylic or polyurethane that does not yellow for optimal clarity over time. Then follow the below methods for optimal protection in the application
Note: Before applying adhesives or sealants, make sure your work area is well-ventilated, put on your gloves, and wear a mask. Priority is always given to safety.
For quality maintenance, cleaning supplies like (broom, mop, utility knife, measuring tape, vinyl roller, vinyl tile glue, and applicator) are essential and should be handy. Also, the surface must be free of debris, dry, and rough. The adhesive will not hold if the surface is dusty or uneven, and the result will be disappointing. Therefore, you must ensure:
Use a vinyl-specific cleaner for a thorough cleaning every few months. In doing so, it revives the floor's luster and eliminates any built-up dirt. To keep your vinyl records in pristine condition, never use a "mop and shine" product like wax or polish.
Discoloration of vinyl flooring can occur when rubber-backed mats are used. Instead, safeguard the floor and prevent dirt and debris from damaging it, particularly in areas that get a lot of foot traffic, by using mats or rugs that won't stain.
Vinyl floors can fade and wear out with time if exposed to ultraviolet radiation. To shield your floors from the sun's rays, draw the shades or install UV-protective window films.
The optimal frequency is every 12 to 18 months, though this can vary based on the amount of foot traffic. When the sheen wears off or the water beads up no more, a reseal is in need. If you want your floor to retain its sealant and look great, use only pH-neutral cleaners and prepare thoroughly. The entire endeavor is ruined by surfaces that are dirty or uneven. It is advisable to seek the assistance of an expert if your room is particularly vast or unusually shaped. The average cost you should expect is around $3 to $7 per square foot. They will ensure many professional touches are given to your vinyl tile to an extend floor life, like:
1. Improved Coatings: Modern vinyl flooring often has a coating that is more resistant to scratches and stains than older varieties. This type of coating will significantly extend the life of your flooring by providing an extra barrier against wear and tear. If you try to deal with them on an individual basis, you can end up overwhelmed.
2. Choices for Waterproof Vinyl: Thanks for innovations in vinyl manufacturing, completely waterproof options are now available and can be handled by many professionals, making perfect use of them for high-moisture areas like kitchens and bathrooms.
3. Repair Scratches and Dents: Vinyl floor repair kits are available from several PROs and can remedy minor dents and scrapes. Deeper dents or scratches may necessitate the replacement of the damaged tiles or boards.
4. Replacing a Section: The ability to repair individual tiles or planks instead of replacing the whole floor is a major benefit of vinyl flooring. For this purpose, they help you save any additional tiles that were installed during the initial installation.
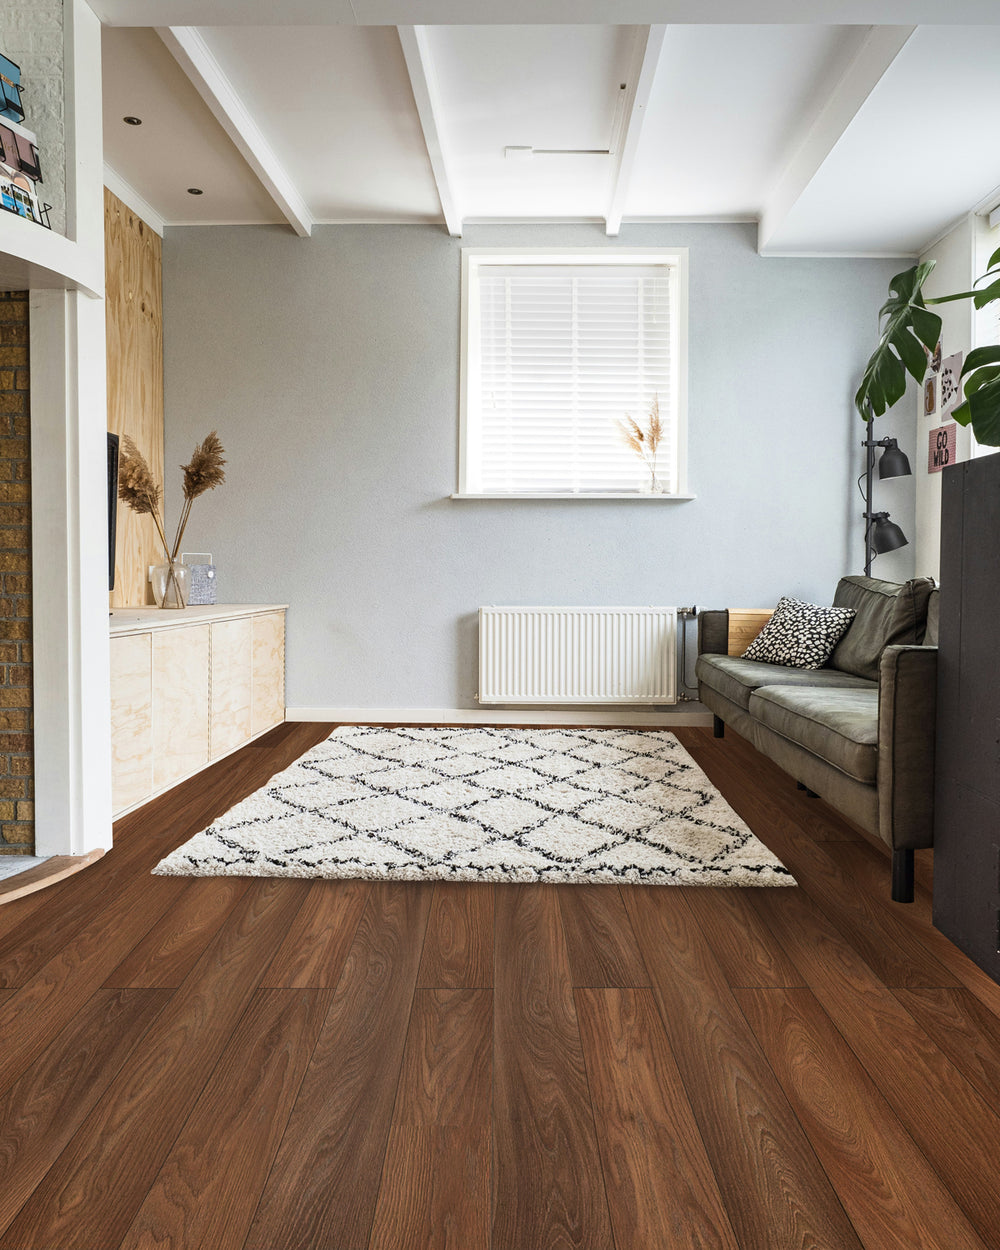
Many homeowners have embraced vinyl tile, and with good reason. Incredibly simple to set up, fashionable, and reasonably priced. There is a vinyl tile out there for any style, whether you're after a contemporary marble pattern or a more rustic wood appearance.
More Reading
For more peel and stick tile and flooring inspiration, check out these resources:
What Kitchen Backsplash Styles Will Trend in 2025?
In order to extend the life of your vinyl tile flooring and improve its appearance, sealing it is more than simply an additional step—it's the secret ingredient. Sealing helps preserve your investment, whether you're doing it yourself with peel and stick vinyl flooring or renovating your entire home. It is highly recommended that you not miss it.
Now that you know vinyl tile is a ready-made flooring superstar, sealing it makes it even better. You can enhance the longevity, durability, and aesthetics of your flooring with proper preparation, the right equipment, a coat or two of sealant, and the assistance of a competent professional if needed.
Floor sealant for vinyl tiles' lifespan might vary from 12 to 18 months, influenced by factors such as foot activity and cleaning routines.
Sure thing! In addition to protecting the edges from damage, sealing helps keep the tiles in place.
Not with a non-slip sealant applied. Flooring with a "anti-slip" or "low-sheen" mix will be safer.
Indeed, but be careful not to use a mop that is too wet or too harsh.


