

How to Waterproof Your Bathroom with Peel and Stick Flooring
|
|
Time to read 10 min
|
|
Time to read 10 min
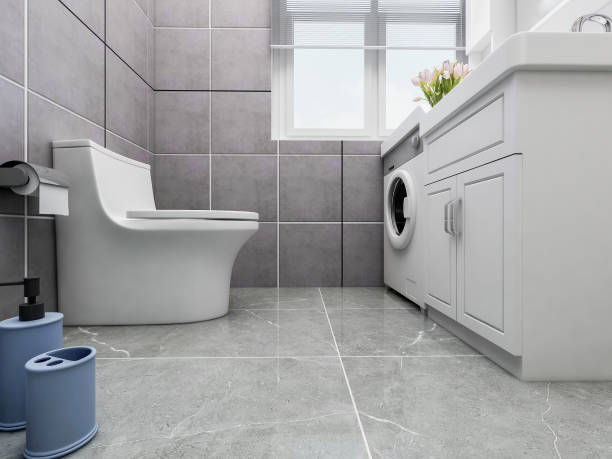
70% of bathroom flooring failures are due to water damage—discover how peel and stick tiles can solve this if you waterproof them correctly. Bathrooms are the wettest areas in a home, making them most prone to flooring damage. Traditional flooring like wood or even standard vinyl warps, peels or breeds mold in such high-humidity environments. But what if you could have a cost-effective, stylish and easy to install solution that resists water?
Enter peel and stick flooring. A modern, DIY-friendly alternative that transforms your bathroom aesthetically and functionally when installed and sealed properly. This guide will show you how to waterproof your bathroom with peel and stick bathroom floor tile, including expert tips on preparation, installation, sealing and maintenance.
The humid environment of a bathroom leads to issues like warping, mold growth and eventual tile lifting especially when water seeps beneath the flooring. While peel and stick bathroom floor tile is quick to apply and looks great, it's not foolproof unless you waterproof it properly.
When combined with modern materials like SPC (Stone Plastic Composite) and professional waterproofing steps, these tiles can offer both durability and water resistance, perfect for bathroom use. The result? A sleek, long lasting floor that can handle splashes, spills and steam.
Selecting the right peel and stick flooring is vital for ensuring effective waterproofing in your bathroom. The right choice will determine both longevity and performance in your moisture-prone environment.
When shopping for bathroom floor tile ideas, understanding the difference between waterproof and water-resistant options is crucial. Waterproof tiles can withstand complete submersion and major accidents like floods, whereas water-resistant tiles can only handle minor spills if addressed promptly. For shower areas specifically, 100% waterproof tiles are required since they can manage extended moisture exposure.
Stone Plastic Composite (SPC) flooring is the toughest, most durable vinyl flooring option available. The stone-plastic composite creates a virtually indestructible core that won't dent and maintains its shape even on uneven subfloors. The wear layer thickness determines durability:
SPC is thinner and gives less underfoot compared to Wood Plastic Composite (WPC). But it's more resistant to dents from heavy furniture.
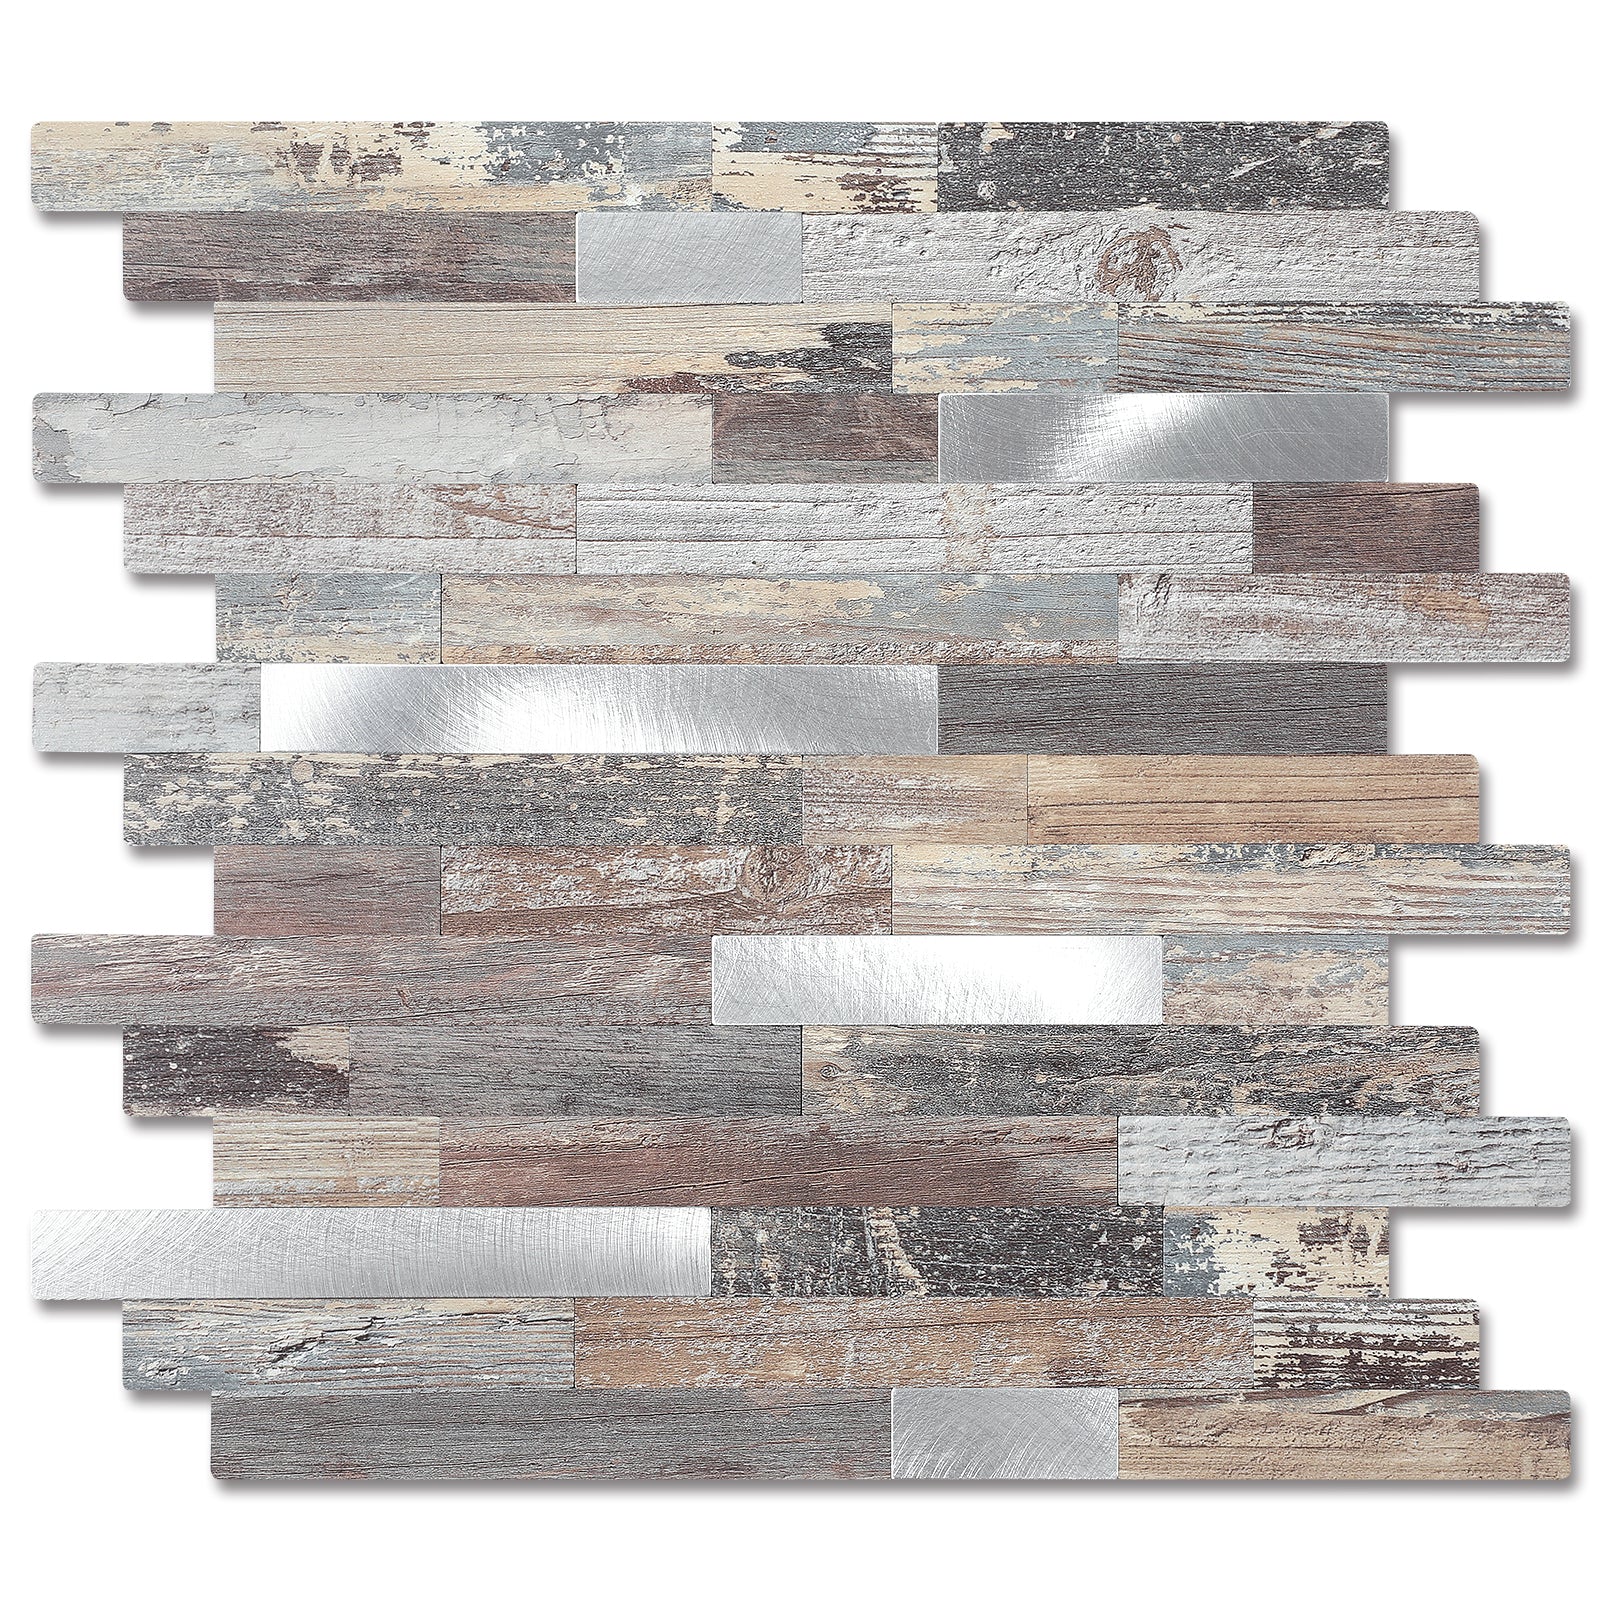
FloorPops makes budget-friendly peel and stick floor tiles that are easy to install without using grout or special tools. Their products have water-resistant, washable surfaces perfect for budget-friendly bathroom renovations.
Tic Tac Tiles specializes in 3D imitation tiles that create dimensional effects, but they work best in less wet areas. Yipscazo offers PVC peel and stick tiles with waterproof certification, suitable for high-moisture environments. Their products resist moisture, grease and stains and maintain their appearance over time.
Current bathroom floor tile trends include marble-look designs that give a luxurious look without the premium price. Hexagonal splicing patterns provide bold, unique looks for shower walls while creating visual interest.
Matte non-slip surfaces add safety in wet areas without sacrificing style. Many manufacturers now offer checkerboard patterns, especially in neutral marble tones which are very popular.
For maximum waterproofing performance, look for tiles labeled for bathroom and shower use that have antibacterial properties, heat resistance and protection against mold and mildew.
Further Readings
→ How to cut peel and stick floor tiles
→ How to Clean Tile Floors No Matter What Type (and Grout Too)
Proper surface preparation is essential for a successful waterproof bathroom flooring installation. A clean, smooth subfloor ensures strong adhesion for peel and stick tiles and helps protect against future moisture issues.
The subfloor must be spotlessly clean before installation begins. Trisodium phosphate (TSP) removes grease, wax and residue that can prevent proper adhesion. For existing vinyl surfaces, use a vinyl floor stripper to dissolve wax buildup, and follow label instructions carefully. After initial cleaning, vacuum thoroughly to remove all particles.
Alcohol-based cleaning solutions clean and dry quickly in areas previously affected by mold or mildew. Remember that any dust or dirt trapped under tiles can cause adhesion failure and potentially mold growth.
Uneven floors, bumps or dips will appear in your peel and stick to the bathroom floor tile over time. Use a level to check your subfloor, ensuring it is flat with no more than a 1/16-inch variation over a six-foot span. Fill any cracks, holes or low spots with self-leveling mortar.
For installations over existing ceramic tiles with deep grout lines, these must be filled and leveled with a suitable compound before installation. Otherwise, vinyl tiles will conform to these lines and cause uneven wear and tearing.
Moisture is the primary threat to the durability of peel and stick flooring. Before installation, test your subfloor for moisture. A moisture barrier is essential for concrete floors as dampness can cause tiles to curl or lift.
High-density foam or cork underlayment provides both moisture protection and antimicrobial properties. This layer prevents rising dampness from affecting tiles and smooths minor imperfections and insulates.
Utility knife and ruler
With prep work done, it’s time to install your peel and stick flooring with care to ensure full waterproofing. During this stage, each step must focus on creating a moisture-resistant barrier that protects your bathroom floor from water damage.
Leave your peel and stick tiles in the bathroom for about 48 hours before installing. This allows them to adjust to the room's temperature and prevent them from expanding later. Then draw two lines that cross in the middle of the room to find the center.
Start placing the tiles from this spot and work your way out. Place a few tiles on the floor without removing the backing to preview how the pattern will appear. Make any changes now before sticking them in place.
To cut tiles near the wall, place a full tile where it would go, then lay another tile on top and slide it to touch the wall. Mark where they overlap and cut along the line. Always use a sharp utility knife and a straightedge for precise, clean cuts.
If you’re tiling around pipes or corners, make a paper shape first to help guide your cuts and avoid wasting tiles. Leave a tiny gap—about 1/32 inch—around the edges so the tiles can move slightly if needed.
After you place each tile, press it down well. You can use a heavy roller or even a rolling pin to push out air and help it stick better. In areas that get very wet, like near the shower, you can add extra polyurethane adhesive to make the tiles stay in place better. Stay off the floor for about 72 hours so everything can stick properly.
Seal the joints between the tiles with silicone caulk or epoxy grout to keep water out. This is super important because if water gets under the tiles, it can damage. For bathrooms, epoxy-based sealants are best because they resist mold better than regular caulk.
Don't use peel and stick tiles where the sun shines directly for a long time—heat can make them move or come loose. Keep the room temperature steady between 65°F and 85°F while installing and afterward. Only use extra glue if the instructions specifically allow it. Adding the wrong kind of adhesive can ruin the floor or void your warranty.
Even after a perfect installation, additional waterproofing techniques can extend the life of peel and stick bathroom floor tile. These final steps establish a durable moisture barrier that protects your flooring for years to come.
Applying a water-based polyurethane sealer over peel and stick tiles can create a very durable waterproof surface. Use a high-quality natural bristle brush or foam roller to apply at least three thin coats, allowing 3–4 hours of drying time between each. If more than 12 hours pass, lightly sand before the next coat to improve adhesion.
After the final coat, wait 24 hours before walking on the floor. Note that sealing with polyurethane makes the tiles permanent but greatly improves resistance to water, scratches and stains.
Epoxy resin-based or silicone caulking agents are best for bathrooms as they have better mold and mildew resistance. Silicone caulk can last up to 20 years and works well with changing temperatures, but you need a special cleaner to remove it. These caulks repel moisture making them great for long term protection in damp areas.
Seal all floor edges where the tiles meet walls, bathtubs, toilets, or showers using silicone sealant to block water intrusion. Installing bath seal trim helps shield against splashes and sprays. Acrylic latex caulks with silicone offer better adhesion and flexibility while reducing shrinkage. Inspect edge seals, ideally once a year, to ensure ongoing protection.
Keep your peel and stick bathroom floor clean and maintained to preserve its waterproof integrity.
With this method your floor can last 5-10 years or more even in humid environments.
Peel and stick tiles are easy and budget friendly but they don't work in every situation. In some bathroom setups they can cause more problems than they solve. Here's when you should avoid using them:
Peel and stick tiles are not suitable for use with heated floors. Most brands even warn against it on the packaging. The heat can weaken the glue and the tiles will peel off. Plus vinyl tiles can block heat so your floor will feel colder and your heater will use more energy to keep the room warm.
If your bathroom floor is bumpy or rough, peel and stick tiles won't stick properly. Gaps can form under the tiles and water can seep in. Over time this can lead to mold, mildew or damage. Even tiny bits of dirt under the tile can create bumps. The floor needs to be completely smooth for best results or you'll need to use a floor leveler first.
If your bathroom has heated floors or uneven surfaces here are some better flooring options:
Peel and stick tiles vary in water resistance depending on quality and installation. Most waterproof peel and stick tiles can handle bathroom moisture and water splashes when installed correctly. Thicker vinyl peel and stick tiles with stronger adhesive and waterproof glue can withstand soaking without detaching.
But there's a big difference between splash resistance and direct exposure. Many manufacturers advise against installation in shower cabins or areas directly exposed to water, as this can affect adhesion. For areas around showers look for tiles labeled waterproof and made from waterproof vinyl material designed to repel moisture.
Good peel and stick tiles can last over 25 years if you take care of them properly. Budget options will only last 5 years. Lifespan depends on installation and environment. Long-term exposure to moisture can weaken the glue, making the edges curl and the tiles move out of place. So regular cleaning and checking for damage or wear are essential to maximize lifespan.
The reusability of peel and stick bathroom floor tile varies based on material type and removal technique. Vinyl wall decals can typically be reused if they remain intact, whereas tiles made from other materials often suffer backing damage during removal.
A helpful approach: keep the original backing paper when applying tiles. Once removed, the tiles can be stuck back onto this paper and stored for future use. Heating the adhesive with a hairdryer before removal helps make the tiles flexible and helps preserve their adhesive properties.
Peel and stick flooring offers a stylish and affordable way to upgrade your bathroom, but waterproofing is essential to ensure long-term durability. From choosing the right materials to sealing joints and reinforcing edges, each step contributes to creating a moisture-resistant, mold-free space.
Brands like Yipscazo offer waterproof-certified tiles that combine great looks with practical performance. By following the tips and techniques in this guide, you can confidently install peel and stick bathroom floor tile that not only enhances your space but stands up to the demands of daily use.
😀Ready to transform your bathroom? Explore waterproof collections at Yipscazotile.com and enjoy long-lasting style with smart protection.


